|
Installation Instructions
Bolt-on Rake Kits by Chopper Supply
The Safety and
Quality of this kit depends on correct installation. Read and
follow all instructions carefully.
Inspect each part before you start the installation. We are not
responsible for damage
caused by installing the wrong part.
If you're unsure about any part of the install, give us a
call at 662 449-0956
Click
Here for printable PDF Instructions
|
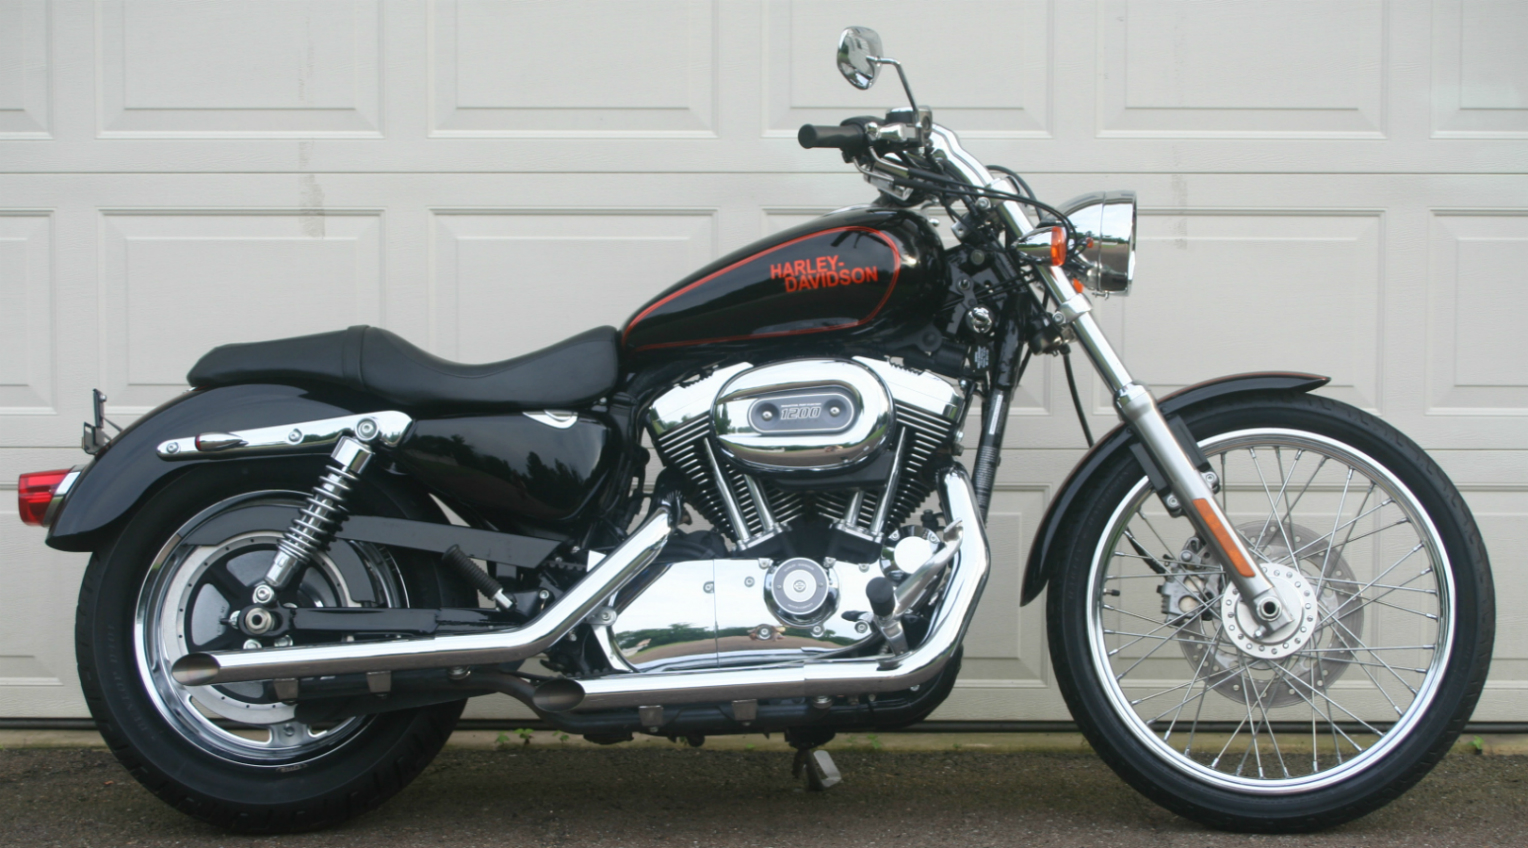
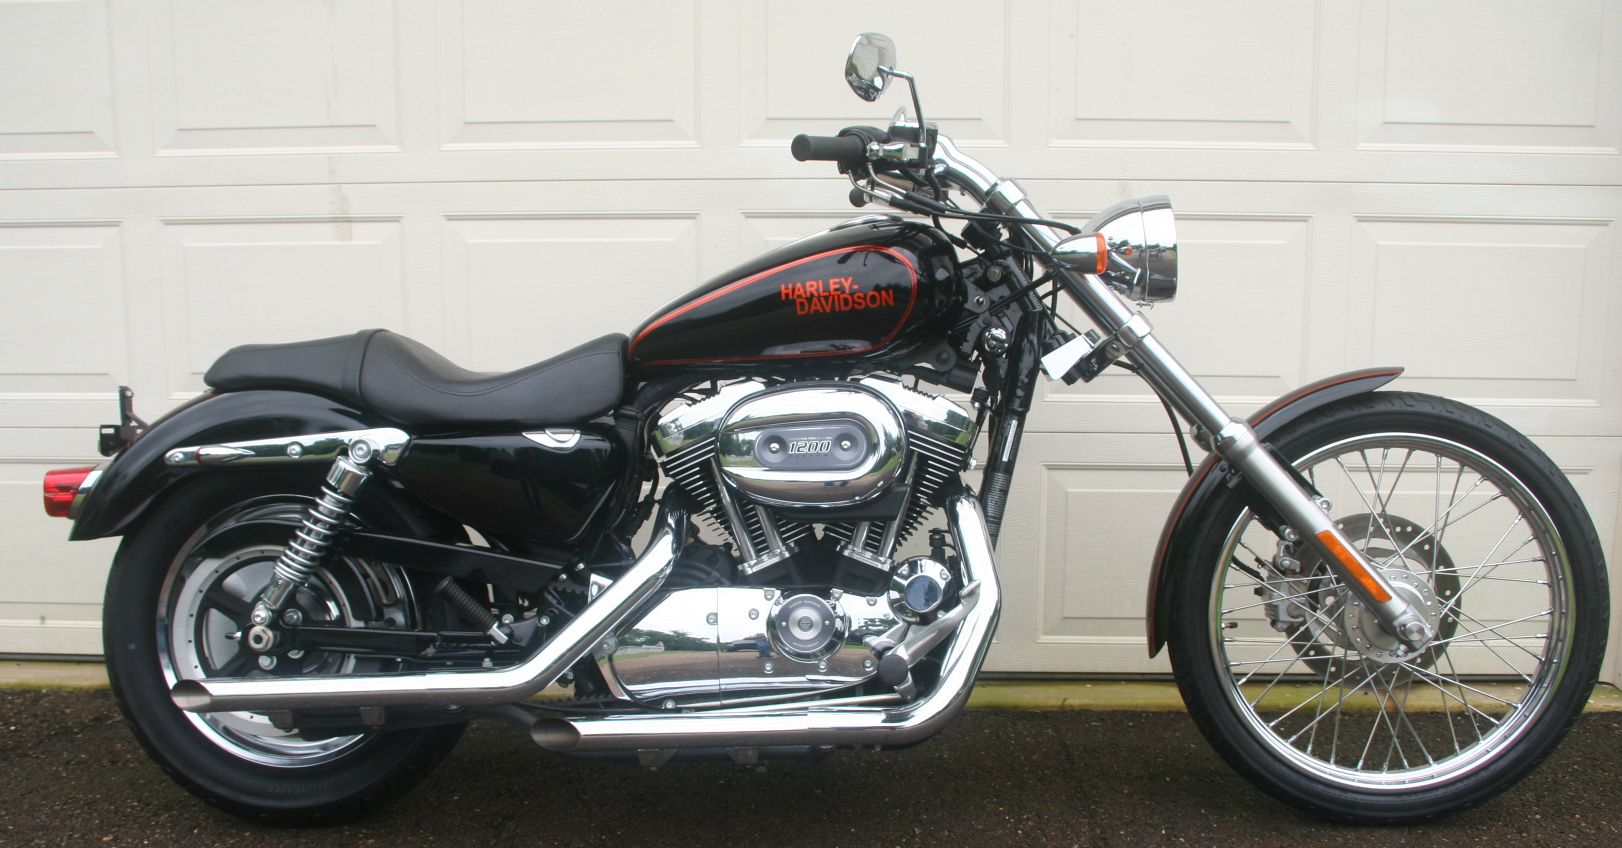
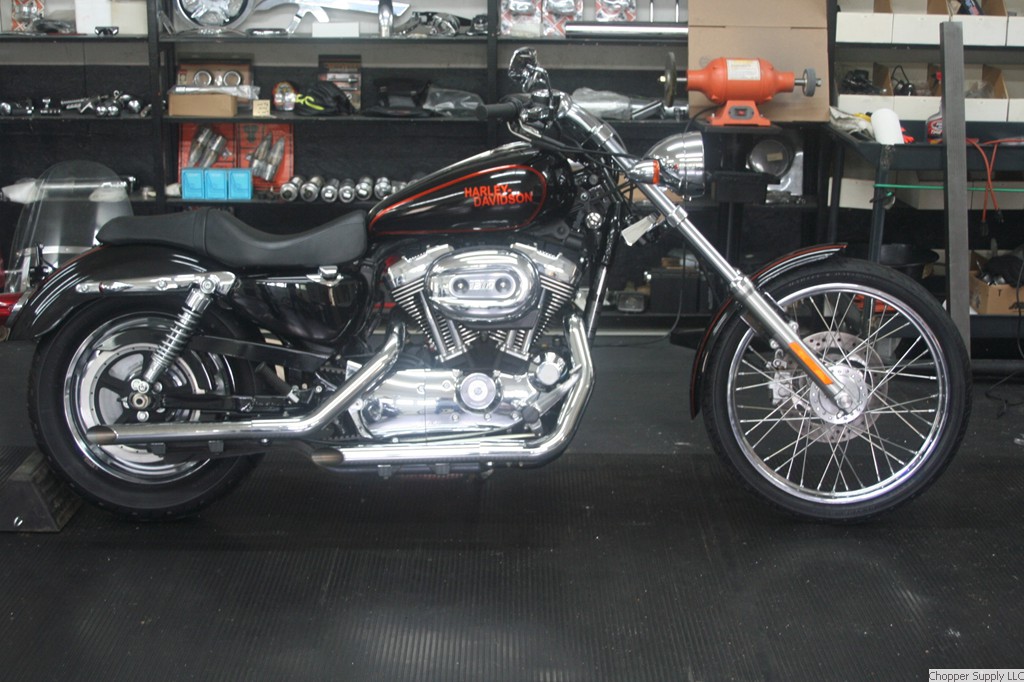
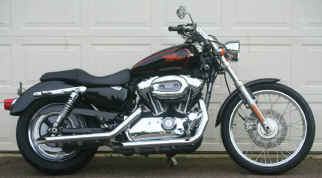
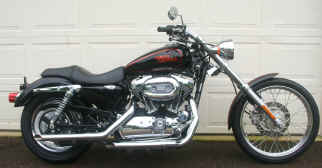
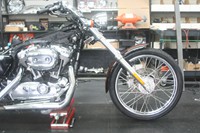
2009
XLC, Harley-Davidson 1200 Sportster |
|
Before
install of + 14°
rake kit, w/4" longer tubes |
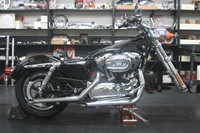
After
install. Increase in length
8.5" |
|
 |
 |
|
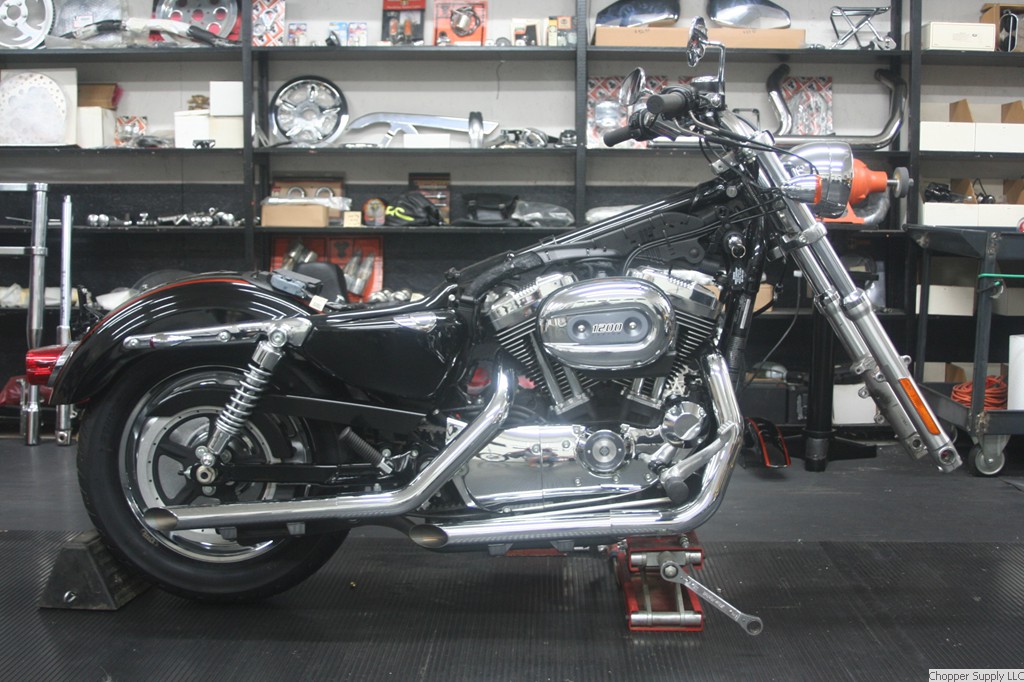
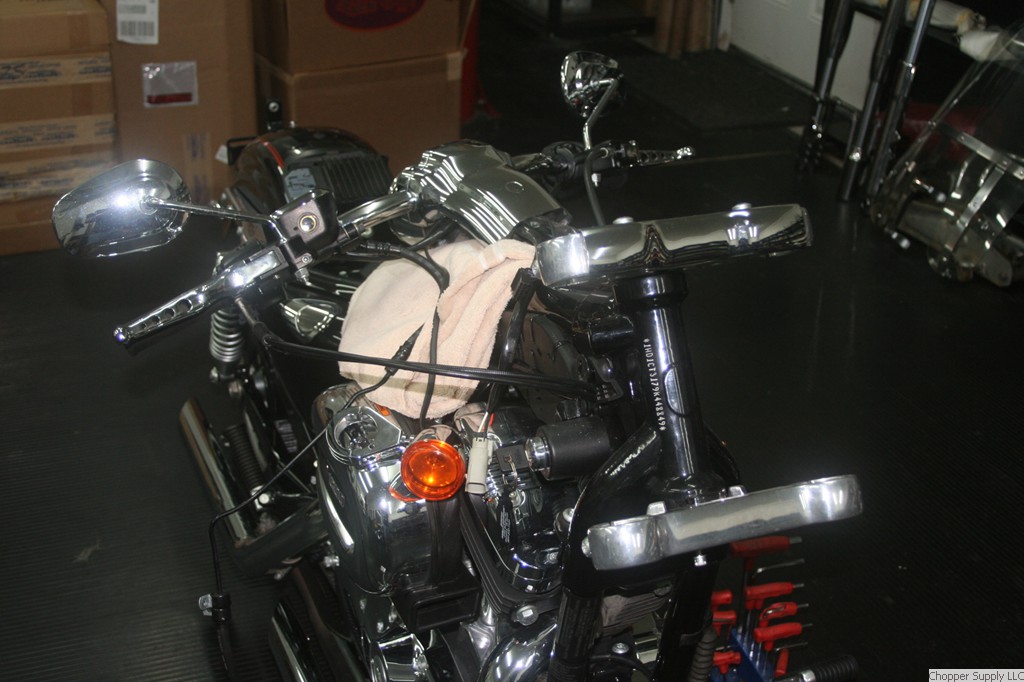
(Click image
below to enlarge, use back button to return)
|
1. Secure Motorcycle on lift or suitable jack.
2. Disconnect battery cable to disable
electrical system, then remove seat, gas tank, front wheel, front
fender, and brake caliper.
3. Unplug electrical connectors (under tank
area) that run through the opening in top triple tree, then pull
wiring harnesses out through the opening.
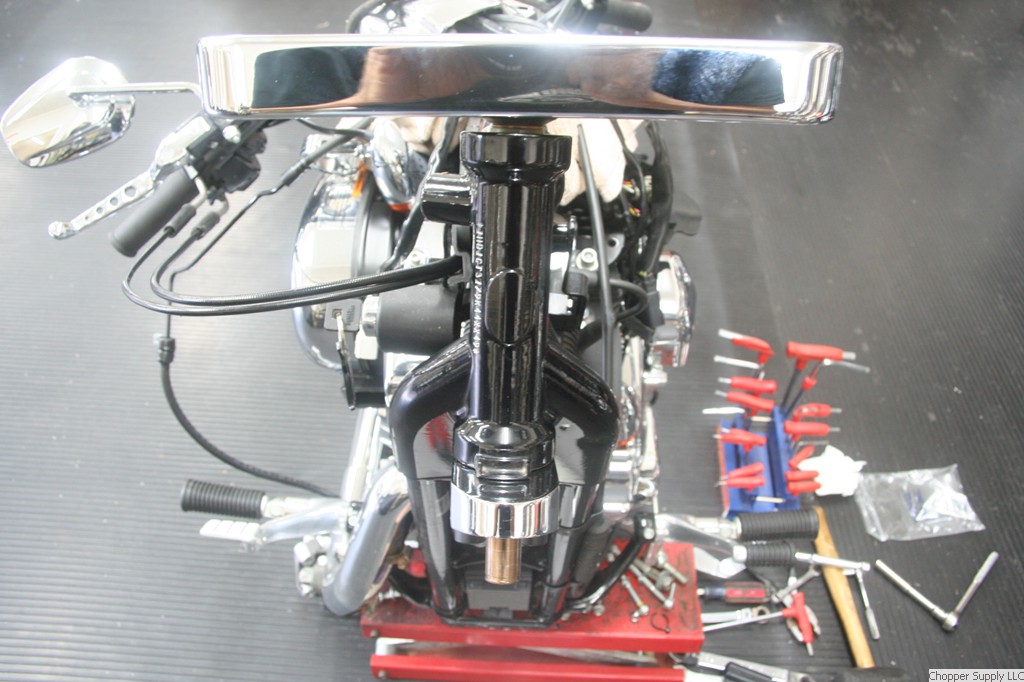
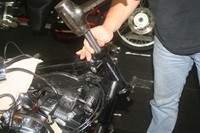
Now you can unbolt the handlebar/riser assembly, and secure it
on a pad further back on the frame out of the way. Remove the headlight, and fork
tube assemblies from trees.
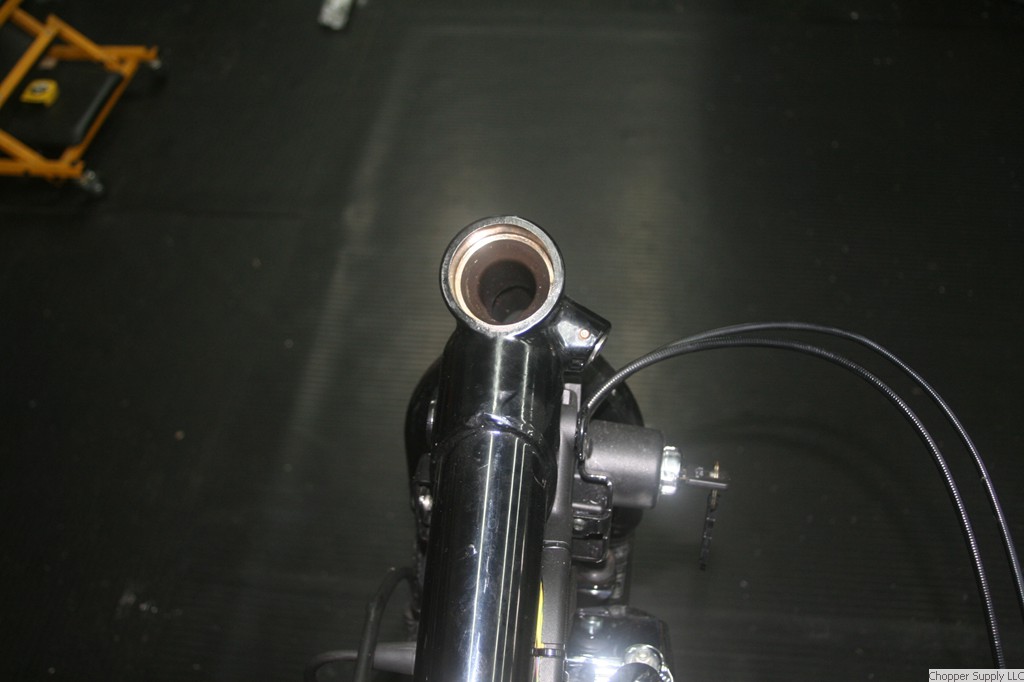
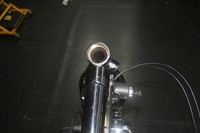
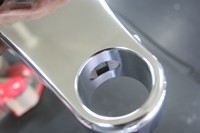
4. Remove triple trees, neck bearings and
races. Clean the inside of the steering head, be sure no
burs have been left in the bearing race seat.
(note; factory bearings and races must be removed & will not
be reinstalled.)
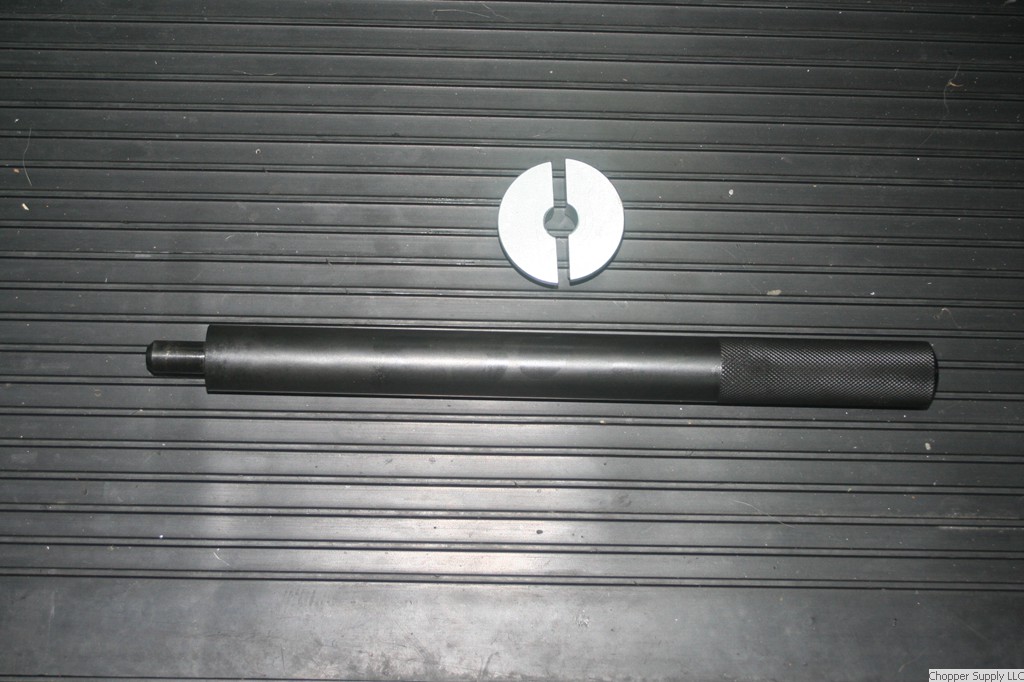
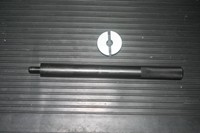
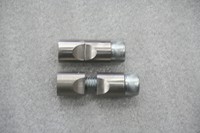
Also shown below, tool used to remove races from steering head.
Ask us about renting one.

1st step of reinstall.
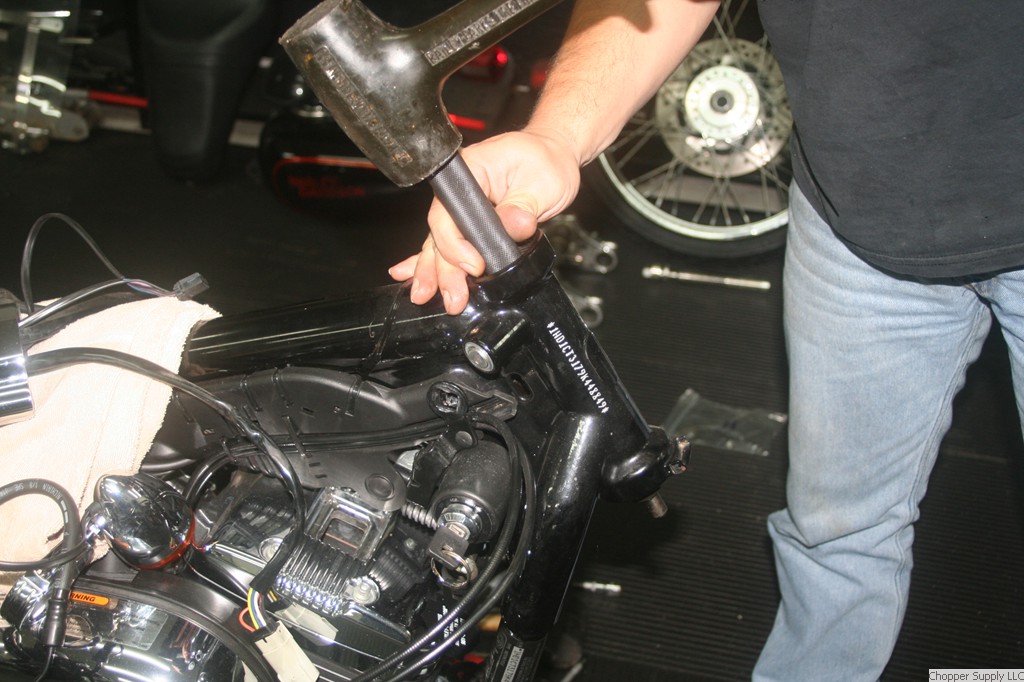
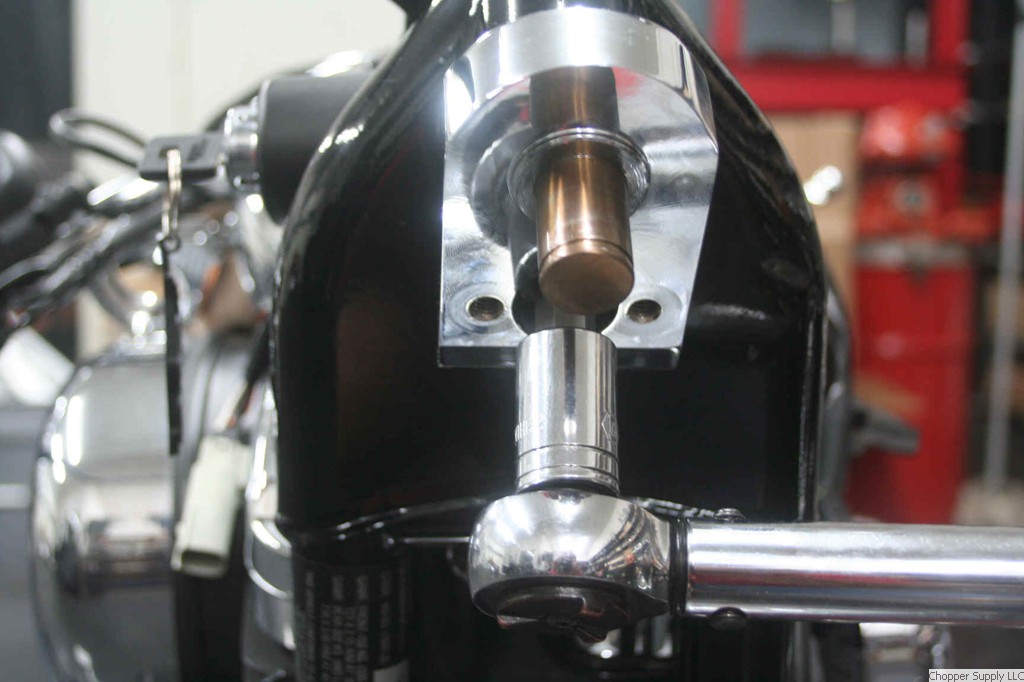
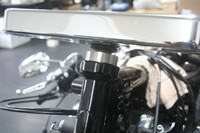
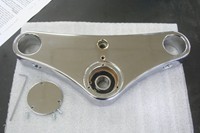
5. Set the top tree assembly on the steering
head. Notice, the steering head adaptor (collar) doesn't just
drop into the steering head, it's a precision press fit, by
design.
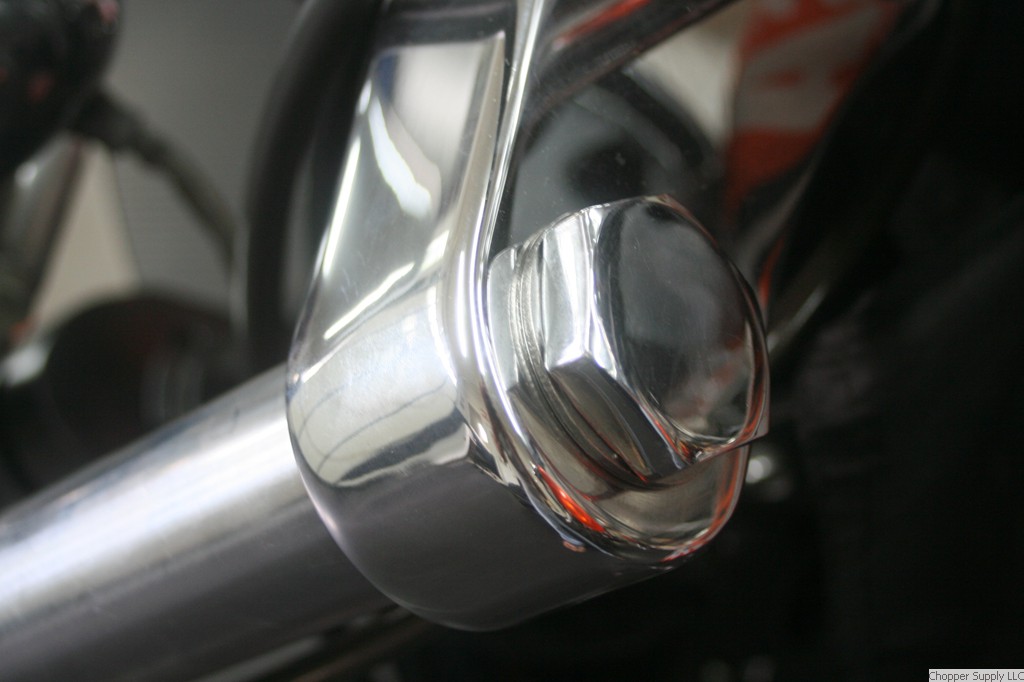
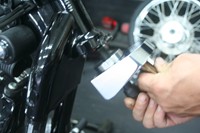
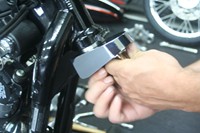
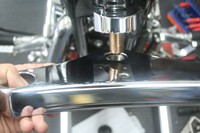
6. Insert the stem bolt through the bottom of
the offset adapter and screw it into stem of the top tree.
As you tighten the stem bolt to 148 lbs., the collars on the top tree assembly
and offset adapter will press fit into the steering head.
Be sure to position the adapter in the steering head so that it
is facing straight ahead when tightening.
If after tightening, it’s not straight, loosen the stem bolt
and with a non metallic hammer, strike the side
of the adapter to align it, then re-torque stem bolt to
148 lbs.
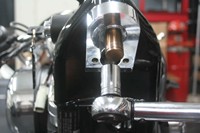
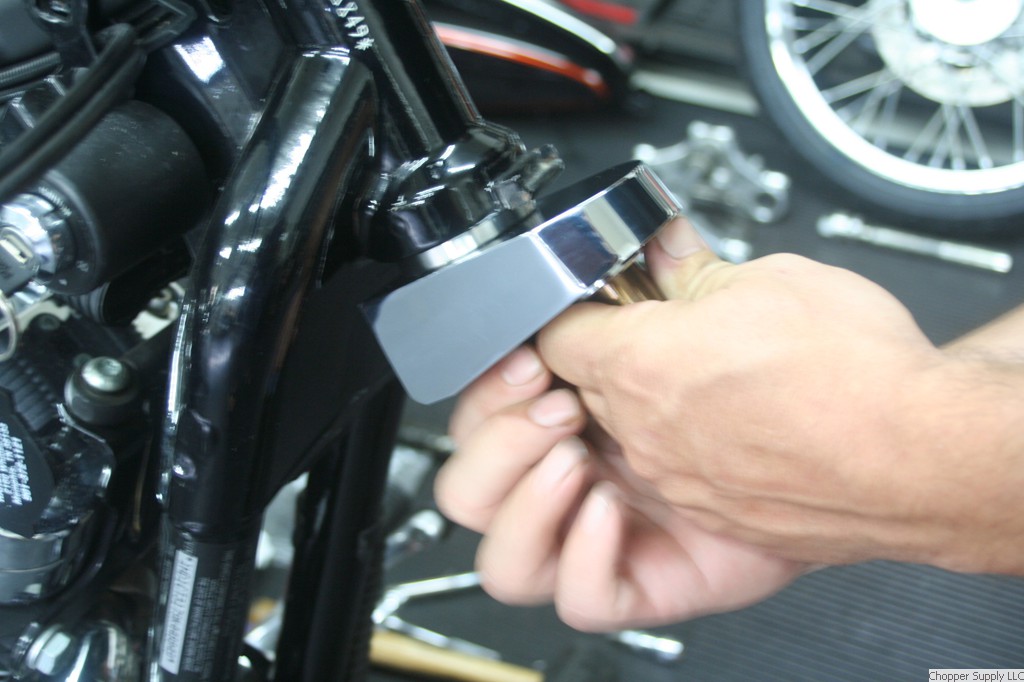
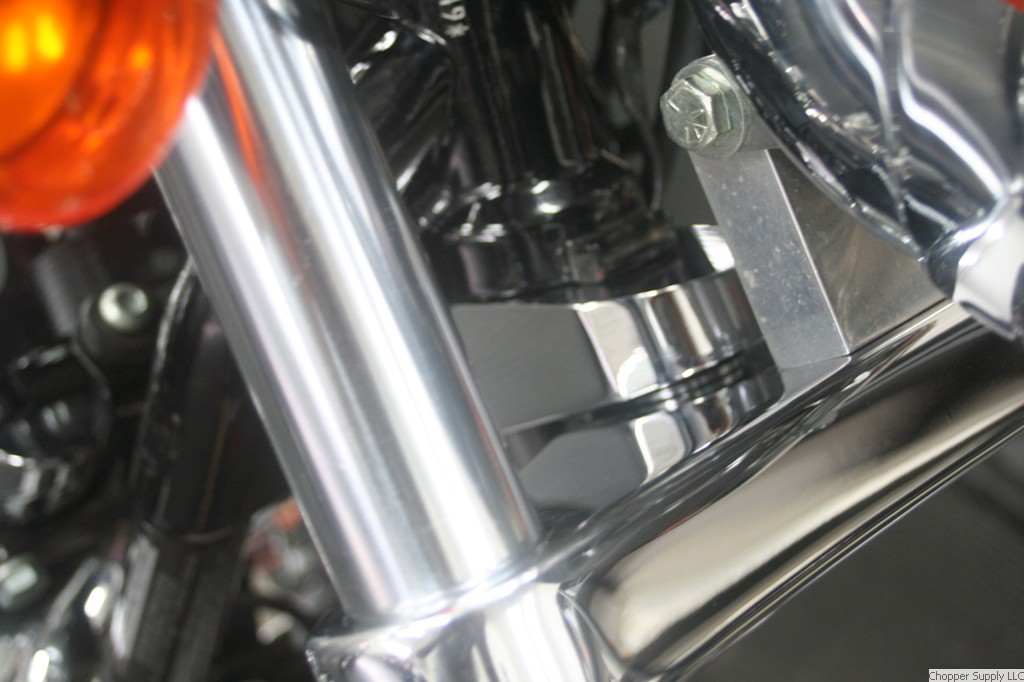
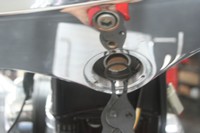
Note: 1st photo below shows
the collar on top tree, fully seated in 7
1/4" Harley steering head.
2nd pic shows collar fully seated on Harley steering heads that
measure 7" in length.

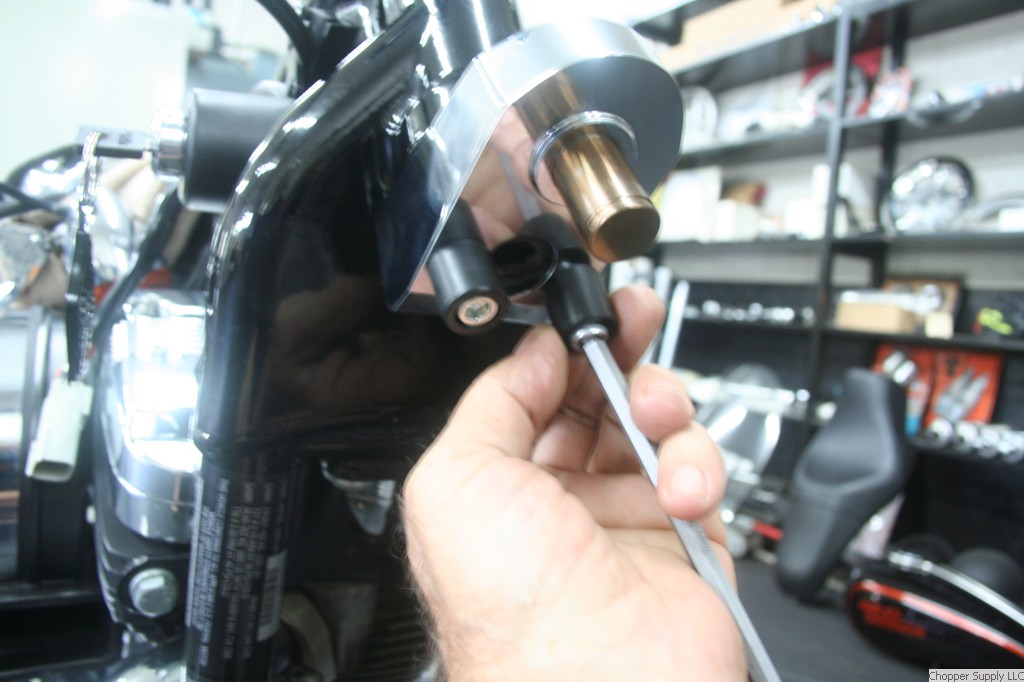
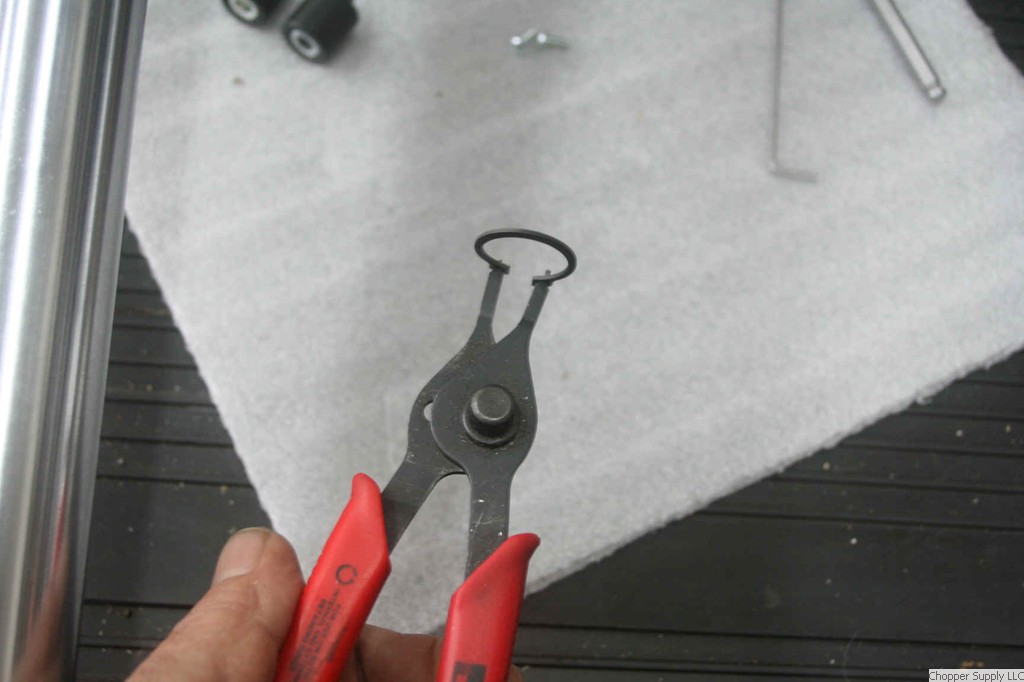
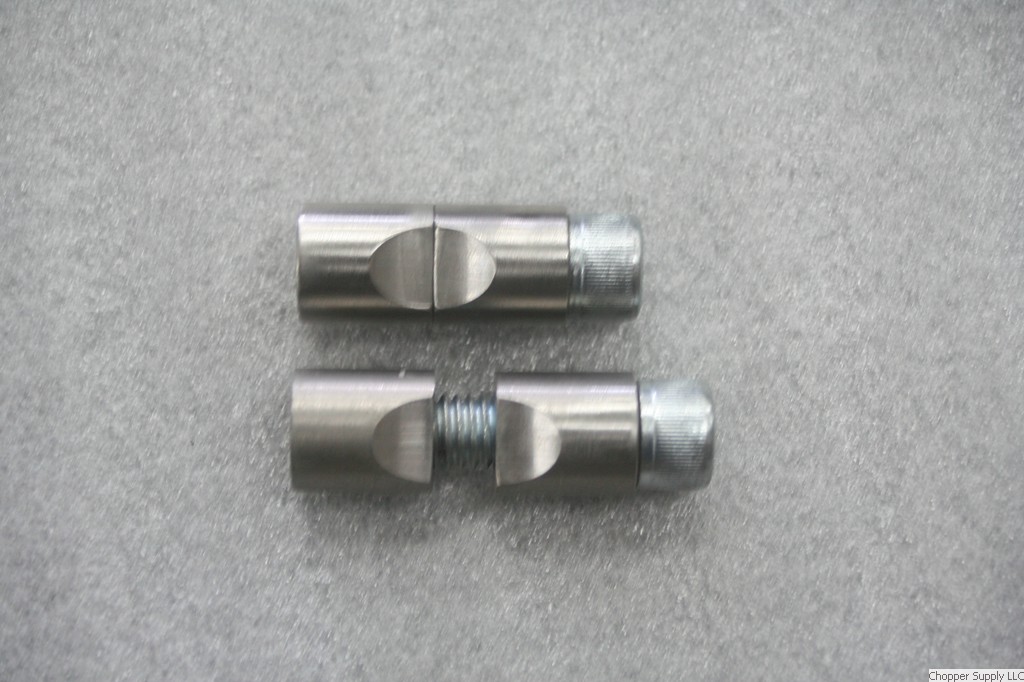
7. Install fork stops on bottom of offset
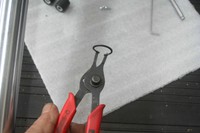
adapter, and remove circlip from the shaft.

8.Remove bearing cover from bottom tree
9. Slide lower tree bearing onto shaft of
offset adapter & install circlip in groove on shaft.
NOTE:
Consult your shop manual to complete step # 10 below.
10. Remove fork tubes from lower legs and replace with
longer fork tubes (6). Use stock pre-load when assembling
forks. Spring spacers (5) included may or may not need
shortened. Refill with the
factory recommended amount of fork oil. Refer to service manual
for your year motorcycle for the exact amount of oil.
(Extra oil is NOT needed for extended tubes).
(Use
caution installing fork tubes through the trees, according to
your repair manual.
A second person to
help align the trees during this step is recommended. We are not
responsible for scratched
tubes)
11. With the tube assemblies ready to install,
align the locking cams (12) in bottom
tree so the tubes can slide thru. Locking cam should have 1/4”
gap between the 2 halves to allow the tube to slide thru. Insert
the fork tubes thru both trees and install the fork tube caps (1)
and washers (2).

12.
Don't forget to set the clearance between the
bottom of the adapter block and the bearing in the lower tree,
before you torque the cam screws.
There should be a min. 1/8" of space between the two components.
With the locking cam screws loose, simply tap up or down
on the lower tree (with a non-metallic hammer) to establish the clearance, then tighten cam
screws with specified torque, and reinstall bearing cover on
lower tree,.

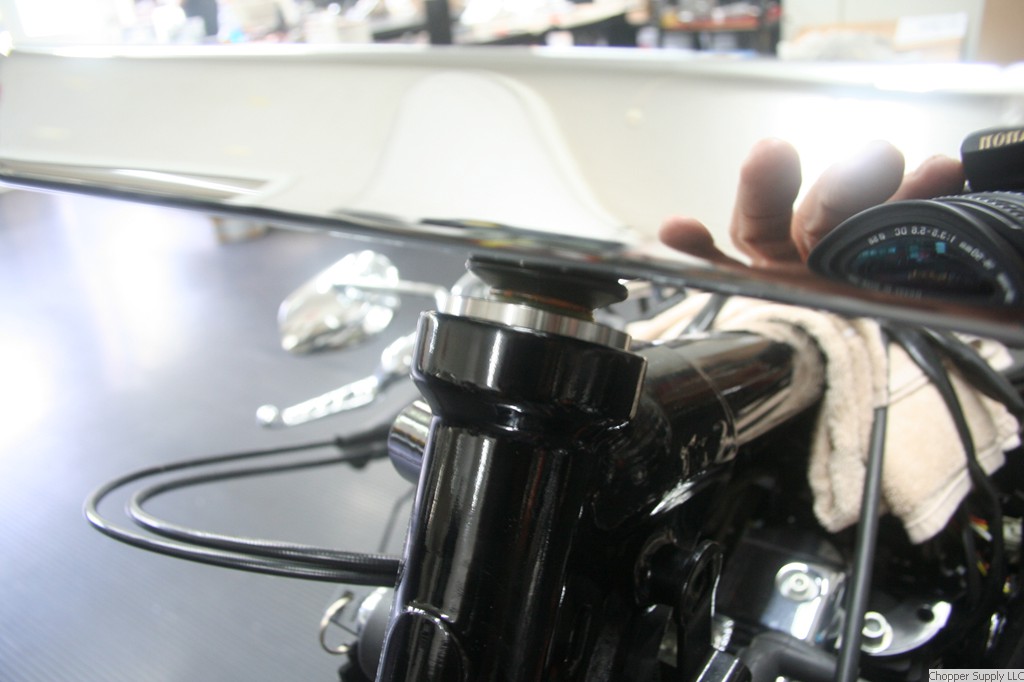
13. Feed electrical harnesses through opening in
top tree then install the handlebar/riser assembly. Install
headlight. Plug in electrical connectors.

14. Install the brake caliper, front fender, new brake line and
fittings
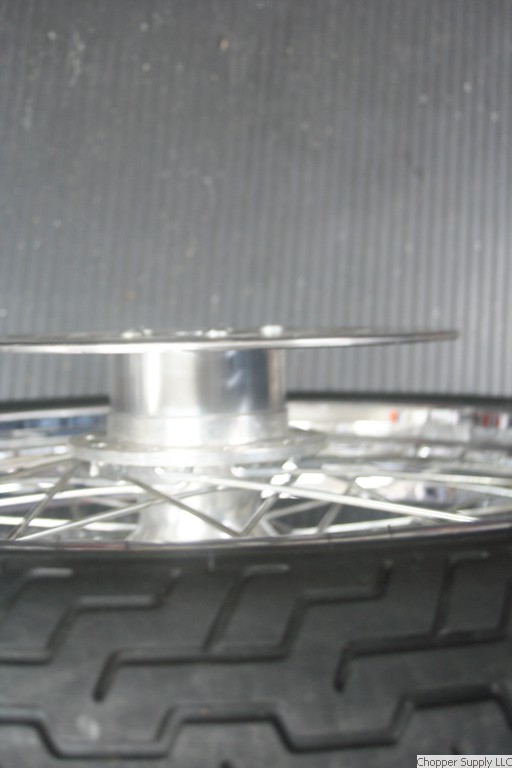
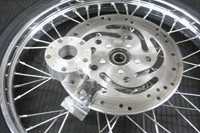
15. When converting from a narrow glide to a
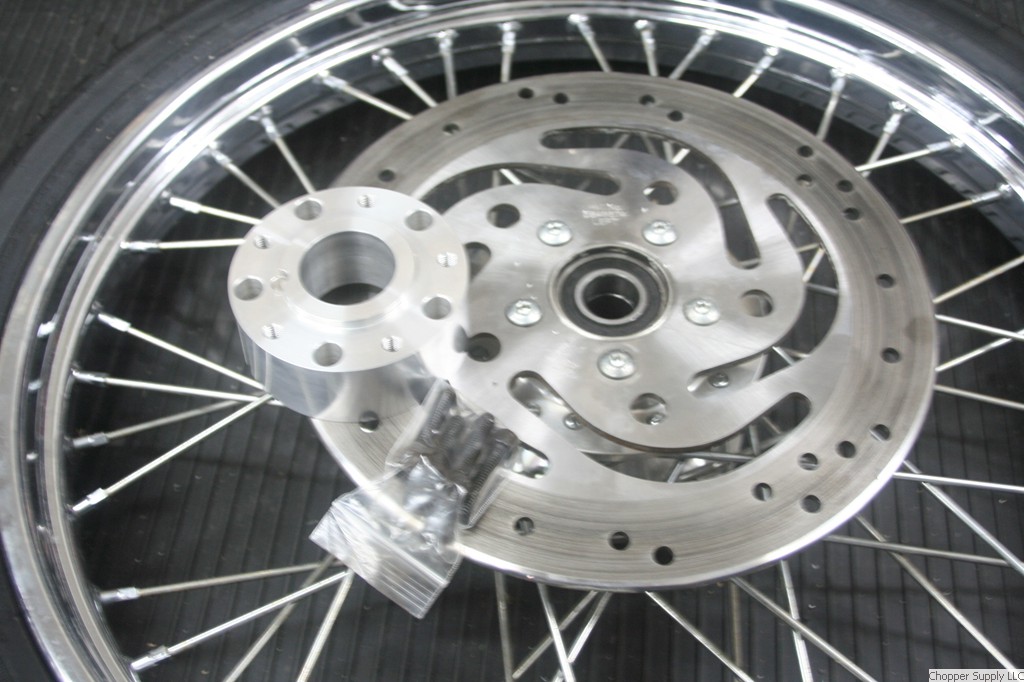
wide glide, remove the brake rotor from your wheel and install
the supplied spacer between the rotor and hub.
16. Install the front wheel. Add brake fluid and
bleed the brake system.
17. Install gas tank, seat, & reconnect
battery cables.

18. Check all bolts for correct torque before riding and
again after 100 miles. Motorcycles are prone to vibrate,
therefore thread lock is always recommended.
"Ride
Safe"
Notice:
Correct function of the brake system is necessary for vehicle
safety. Therefore this installation should
only be done by a Certified motorcycle mechanic.
Do not modify the delivered parts. Damaged parts should not be
used or repaired in any way. Use thread lock on all bolted
connections.
If
you have any questions
about this installation please contact Chopper Supply
LLC - 662-449-0956
|